
Ultimate Guide to Advanced Apron Embroidery
Advanced apron embroidery turns simple aprons into detailed, functional designs. Whether you're customizing gifts, branding for a business, or creating unique pieces, this guide covers everything you need to know:
- Start with quality aprons: Durable, professional-grade options ($26.00–$28.00) are essential for embroidery.
- Choose the right materials: Use medium-weight cotton and stabilizers for clear, long-lasting designs.
- Master advanced techniques: Multi-layer stitching and raised designs add depth and texture.
- Plan your layout: Position designs on bibs, pockets, or waist sections for optimal impact.
- Care for your work: Wash aprons inside out, avoid bleach, and air dry to preserve embroidery.
With the right tools, materials, and preparation, you can elevate your embroidery projects to a professional level.
Embroidered Apron My Process + Tips How to Make the Back ...
Selecting Your Embroidery Apron
Picking the right apron is key to achieving high-quality embroidery. The material and construction of the apron play a big role in stitch clarity and the placement of your designs.
Best Fabrics for Embroidery
For clear, stable stitches, go for fabrics that offer support and structure. Medium-weight cotton or cotton blends with a tight weave work well, as they help maintain stitch definition and reduce distortion. Steer clear of lightweight fabrics that stretch or pucker during embroidery - they can make your work look uneven.
Now, let’s look at how apron styles and features can impact your embroidery layout.
Apron Styles and Features
The style of an apron can influence both the design space and functionality. Here’s a quick breakdown of how common features affect embroidery:
| Feature | Impact on Embroidery |
|---|---|
| Front Pockets | Provide natural boundaries, helping you position patterns effectively. |
| Adjustable Straps | Influence how the apron hangs, which can affect design alignment. |
| Bib Section | Offers a prime spot for central designs or logos. |
| Side Ties | Limit space near the edges, requiring careful planning for layout. |
Apron Prep Steps
Before you start stitching, follow these steps to prepare your apron:
- Wash and press: Clean and press the fabric to remove any sizing and create a smooth surface.
- Mark center points: Use washable fabric markers to map out alignment guides.
- Test fabric stability: Check that the fabric holds consistent tension without stretching.
- Apply stabilizer: Choose a backing that matches the fabric’s weight for added support.
- Check measurements: Double-check that your design aligns properly with the apron’s features.
Tools and Materials List
To achieve professional-quality embroidery, having the right tools and materials is key. Here's a breakdown of the essentials.
Machine and Software
| Equipment Type | Key Features | Purpose |
|---|---|---|
| Embroidery Machine | - Minimum 5" x 7" hoop size - USB connectivity - Built-in editing tools |
Handles larger designs and intricate patterns |
| Design Software | - Tools for creating patterns - Format conversion options - Size scaling capabilities |
Allows creation and modification of custom designs |
| Computer System | - At least 8GB RAM - SSD storage - Modern operating system |
Ensures smooth operation of design software |
Thread and Stabilizer
| Material | Best Uses | Weight/Size |
|---|---|---|
| Polyester Thread | Everyday items, washable fabrics | 40-weight |
| Rayon Thread | Decorative designs with a shiny finish | 40-weight |
| Metallic Thread | Special effects, accents | 40-weight |
| Cutaway Stabilizer | Stretchy fabrics, heavy designs | 2.5 oz |
| Tearaway Stabilizer | Woven fabrics, lightweight designs | 1.8 oz |
| Water-soluble Topping | Textured fabrics, detailed work | 0.5 oz |
Required Tools
-
Hooping Tools
- Spring-loaded embroidery scissors (cost: $15-20)
- Curved tweezers for precise thread handling
- Seam ripper for making corrections
-
Marking and Measuring
- Water-soluble marking pens
- Clear ruler with grid lines for accurate alignment
- Measuring tape (at least 60 inches)
-
Support Items
- Thread nets to manage metallic threads
- Needle organizer for easy access
- Lint roller to prep fabrics
- Storage boxes to keep supplies organized
Keep all tools within reach to maintain a smooth and efficient workflow. With these items ready, you're set to tackle more advanced embroidery techniques.
Advanced Embroidery Methods
Techniques such as multi-layer stitching can add depth, but raised design elements take it a step further by creating a striking three-dimensional effect. To achieve this, start with a firm foundation by using a stabilizer to keep the fabric from shifting or distorting. Then, add a supportive material like craft foam to build up the design. Finally, use overlay stitching to secure everything in place, ensuring the raised elements remain durable. This approach gives your embroidery a textured, eye-catching look that can make your apron truly stand out.
sbb-itb-c693c43
Design Layout Guide
A well-planned design layout can turn a simple apron into a standout piece.
Pattern Placement
Focus on the apron’s natural focal points. For a bib apron, place your design in the center. On a waist apron, consider positioning it slightly off-center to avoid interfering with functional areas like pockets. Use washable markers to test different placements. If your design is near pockets or other functional areas, leave enough space to maintain usability. Adding a stabilizer behind these areas can help keep the design neat and durable.
Creating a Theme
Choose a theme that matches the apron’s style, whether it’s culinary, nature-inspired, or sleek and modern. A clear theme helps keep the design consistent and visually appealing.
Adjusting for Size
Use paper templates to test your design’s placement and scale for different apron sizes. Make sure the details are balanced and avoid overcrowding, especially on thicker materials. This ensures the design looks polished on any size apron.
Finishing and Maintenance
Final Steps
To give your embroidery a polished look and make it last longer, proper finishing is key. Start by trimming any extra stabilizer from the back of your design. Leave a small border around the stitches to keep them secure. Use sharp scissors to clip loose threads carefully - just don’t accidentally cut into the design.
For a smooth finish, steam press the back of your embroidery. Place a clean white towel between the iron and the fabric to shield the design from direct heat. Adjust the iron’s temperature to suit your fabric - around 300°F works well for cotton aprons.
Tips for stabilizing your embroidery:
- Press seams flat before removing the stabilizer.
- Trim jump stitches left between color changes.
- Add extra backing to reinforce high-stress areas.
Once your embroidery is finished, taking care of it properly will help it stay in great condition.
Care Instructions
Taking care of your apron the right way can help preserve both the fabric and the embroidery. Always wash the apron inside out to protect the design. Stick to cold water (below 85°F) and a gentle cycle with mild detergent. Avoid bleach or harsh chemicals - they can weaken the fabric and fade the thread colors.
When drying, reshape the apron while it’s still damp. Lay it flat or hang it to air dry. Don’t wring or twist the fabric, as this can distort the embroidery. If you need to iron, press from the reverse side and use a pressing cloth to shield the design.
| Care Step | Do's | Don'ts |
|---|---|---|
| Washing | Use cold water, gentle cycle | Avoid hot water, harsh agitation |
| Drying | Air dry flat or hang | Skip high-heat machine drying |
| Storage | Hang or roll to store | Don’t fold through embroidery |
| Ironing | Press reverse side with cloth | Never iron directly on the design |
Problem-Solving Guide
Even with proper finishing and care, issues can pop up. If you see thread breaks or loose stitches, fix them right away by weaving the loose ends back into the design. For puckering around the embroidery, lightly steam press the back of the fabric while it’s slightly damp.
Quick fixes for common issues:
- Adjust your machine’s tension if stitches aren’t smooth.
- Reinforce weak spots using matching thread.
- Use color catchers to prevent dye transfer.
- Trim closer to the design edge for a cleaner look.
Cosmic Aprons Selection
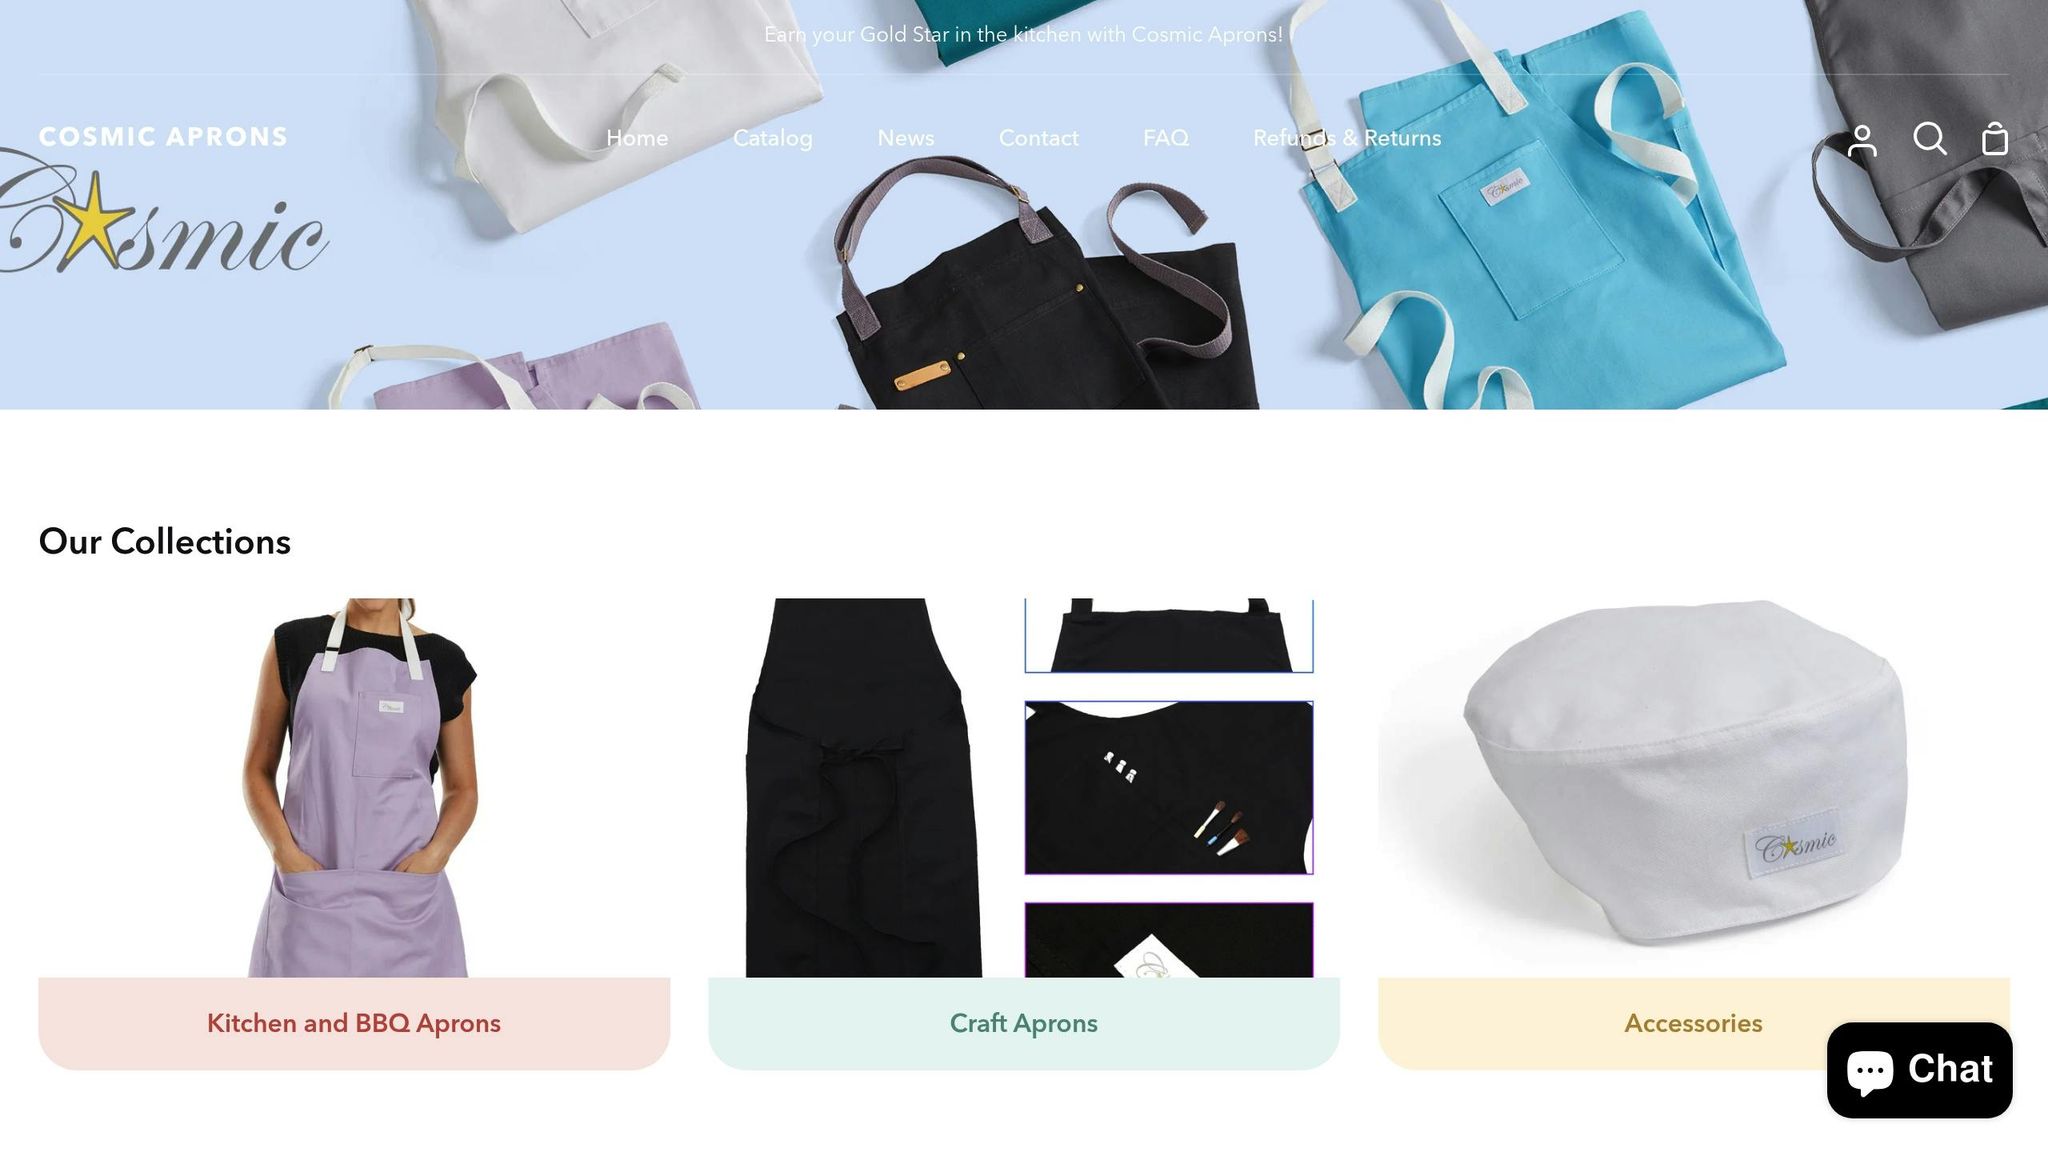
Cosmic Aprons offers two excellent choices for advanced embroidery projects. Both aprons come with adjustable straps for a comfortable fit and pockets to keep your tools handy. These options align perfectly with the essentials of selecting quality aprons for embroidery work.
-
Professional Grade Chef and Kitchen Apron with Pockets ($26.00)
A dependable choice for professional embroidery needs. -
Heavy BBQ and Kitchen Apron, Heavy-Duty Black Apron With Pockets ($28.00)
Built for projects that demand extra durability.
Shared Features and Benefits
| Feature | Benefit for Embroidery |
|---|---|
| Adjustable Straps | Provides a secure and comfortable fit |
| Pockets | Keeps embroidery tools within reach |
Conclusion
Creating advanced apron embroidery requires careful planning, top-notch materials, and expertise in specialized techniques. Starting with a professional-quality apron, like those from Cosmic Aprons (starting at $26.00), sets a strong foundation for your project.
Here are some key factors to keep in mind:
- Material Selection: Opt for aprons made with fabrics that handle embroidery well and can endure multiple layers of stitching.
- Technical Preparation: Ensure your embroidery machine and software are set up correctly for intricate designs.
- Design Planning: Thoughtfully position patterns and develop well-coordinated themes.
- Execution: Practice advanced techniques, such as multi-layer stitching and raised designs, before tackling complex projects.
| Success Factor | Key Consideration |
|---|---|
| Practice | Test new techniques on scrap fabric first |
| Tools | Keep equipment properly calibrated |
| Design | Plan your layout before you begin |
| Maintenance | Follow specific care guidelines |
If you're new to advanced embroidery, start with simpler patterns to gain confidence and refine your skills. Keep your workspace tidy and have all essential tools within easy reach to streamline your process.
FAQs
What’s the difference between polyester and rayon threads, and how do I choose the right one for apron embroidery?
Polyester and rayon threads each have unique qualities that make them suitable for different embroidery projects. Polyester threads are durable, resistant to fading, and can withstand high temperatures, making them ideal for aprons that will see frequent washing or heavy use, such as BBQ aprons or kitchen aprons. Rayon threads, on the other hand, offer a luxurious sheen and are perfect for intricate designs or decorative aprons meant for lighter use.
When choosing between the two, consider the purpose of the apron. For practical, everyday wear, polyester is the better choice. For showcasing artistic embroidery or creating a gift apron, rayon threads can elevate the design with their vibrant, glossy finish.
How can I keep my embroidery design aligned on aprons with adjustable straps and pockets?
To keep your embroidery design aligned on aprons with adjustable straps and pockets, start by marking your design area clearly. Use a fabric-safe chalk or washable marker to outline where the embroidery will go, ensuring it stays centered and straight. Pay special attention to the placement, avoiding areas where straps or pockets might interfere with the design.
When hooping the fabric, make sure the apron is pulled taut but not stretched. If the apron has bulky seams or pockets, consider using a stabilizer to create an even surface for embroidery. Taking these steps will help you achieve a professional, perfectly aligned design every time.
What are some common mistakes to avoid when working on multi-layer stitching and raised embroidery designs?
When working on multi-layer stitching and raised embroidery designs, there are a few common mistakes to watch out for. First, overlapping too many layers without proper planning can make the design bulky and uneven. To avoid this, map out your layers beforehand and ensure each layer complements the next.
Another common issue is using the wrong type of stabilizer. A stabilizer that’s too thin or not suited for your fabric can lead to puckering or distortion. Always choose a stabilizer that matches the weight and texture of your fabric.
Lastly, tension problems in your embroidery machine can cause uneven stitching or thread breakage. Regularly check and adjust the tension settings to ensure smooth, consistent results. Taking these precautions will help you achieve professional-looking raised designs with ease.